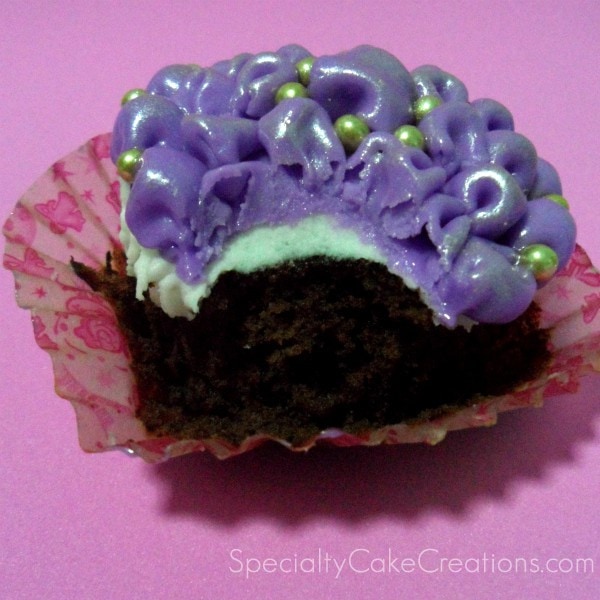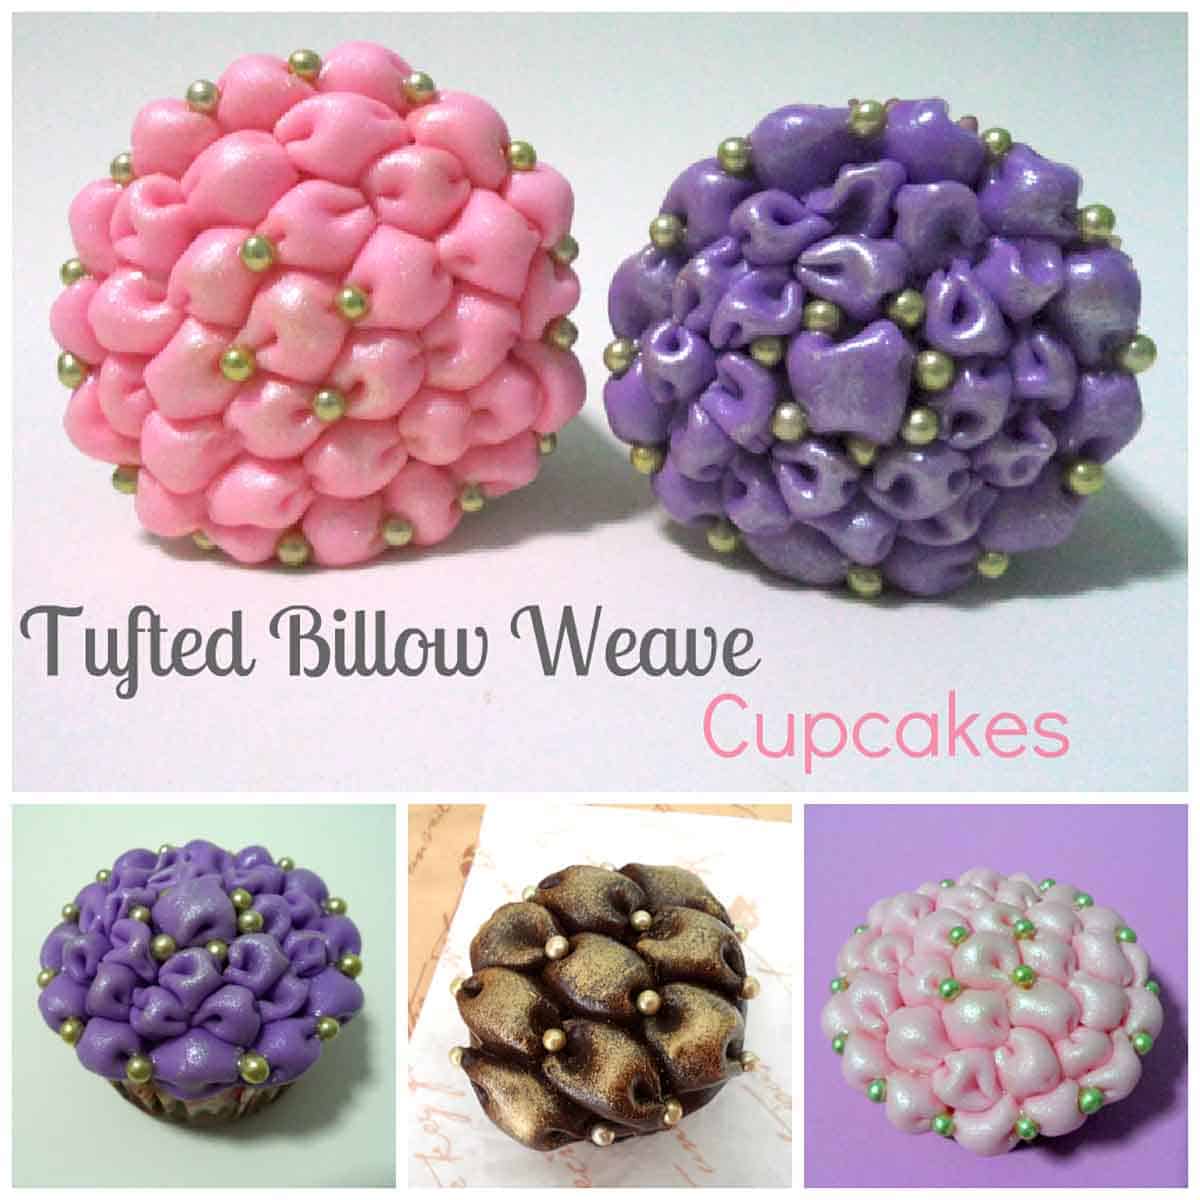
When I first saw the tufted billow weave technique I was intrigued. Recently, I learnt that Susan Trianos developed the technique of arranging fondant billows in a weave pattern. You can check out her DVD here.
I wanted to try it out on a cake badly, but somehow the opportunity never came up. These days I am not baking cakes, but cupcakes and cookies (purchased) are my preferred decorating medium. I searched all over the internet for billow weave cupcakes. With no luck. So, I had to figure things out along the way.
NOTE: Here is how I make fondant from scratch!
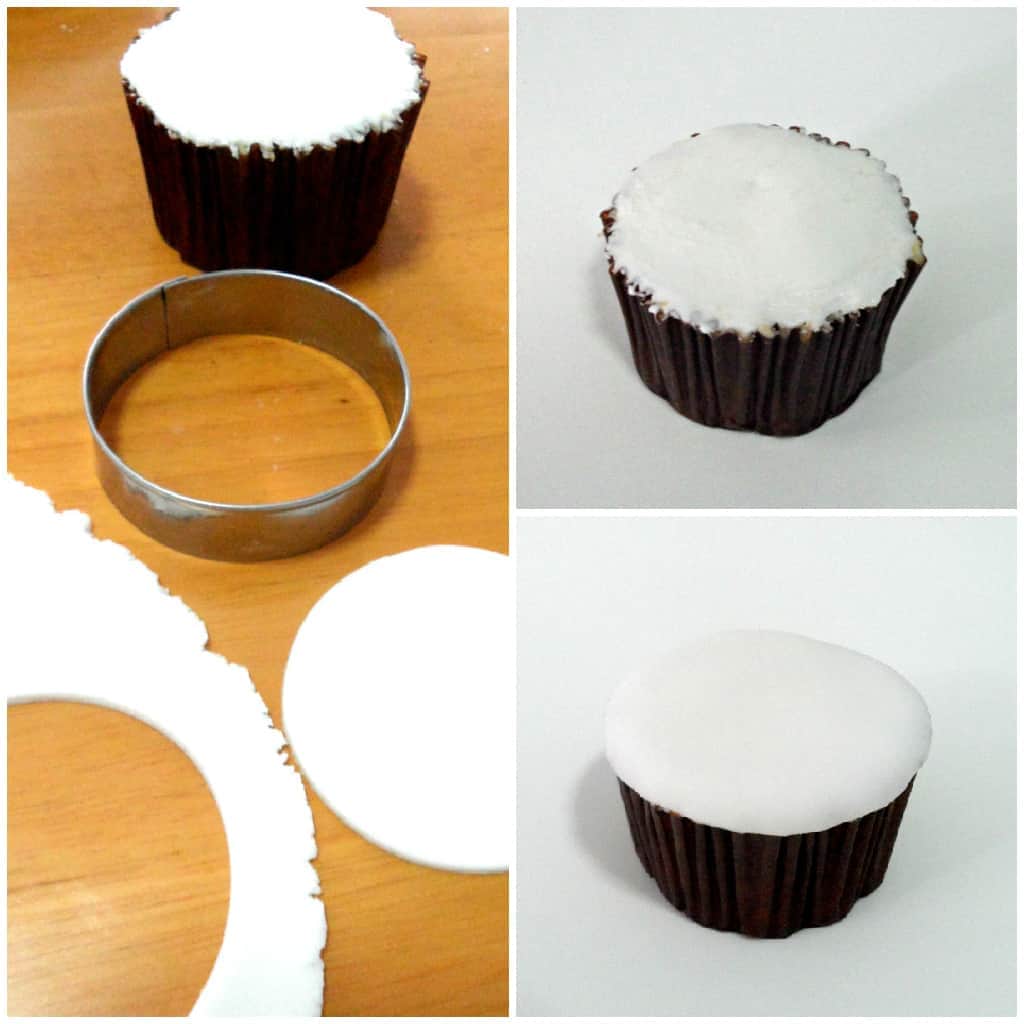
I thought a clean and level fondant surface would be best to attach the billows to. So I started by spreading some frosting on a cupcake. Then I cut out a fondant circle approximately the size of the cupcake surface in the same colors as the billows would be.
Next, I placed the fondant circle on the frosted cupcake and worked it with the warmth of my fingers a bit to create a somewhat neat edge.
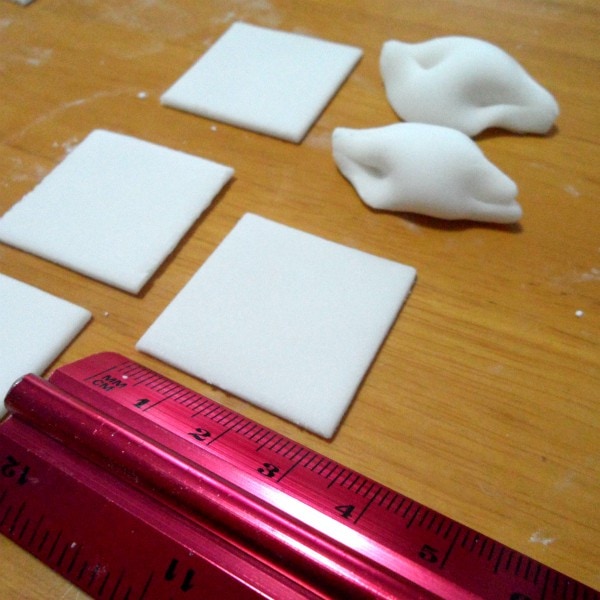
Time to roll out fondant for the billows and cut it into squares. For the pink and purple cupcake I used 2×2 cm squares. For the brown and white ones they were 3×3 cm. Pinch two sides together so the fondant folds up and forms into a billow.
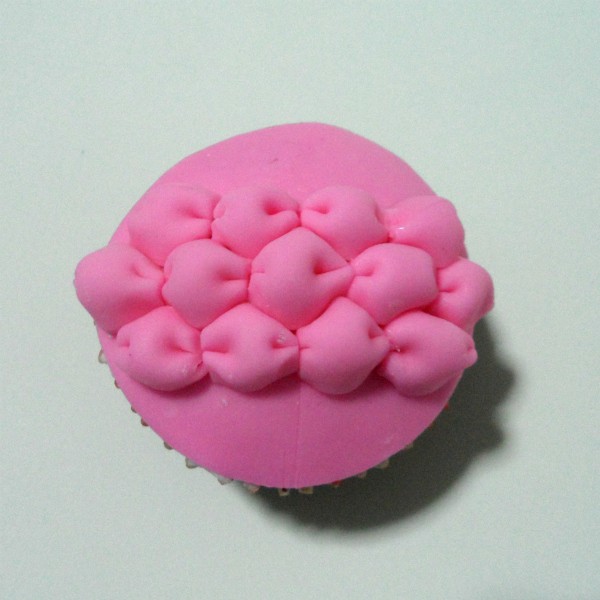
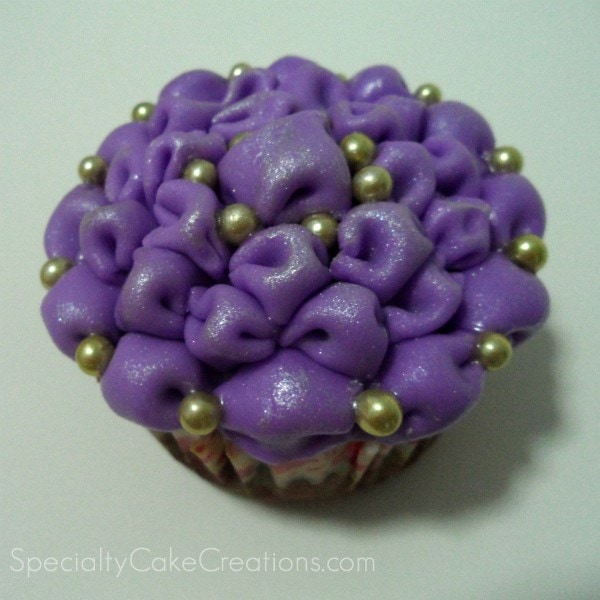
I actually cut the pointy ends of each billow so they could align better next to each other on the cupcake. They are attached to the cupcake with a little gum glue brushed on the back-side.
My first try was the purple cupcake. I started with the outer billows arranged in a circle around the cupcake. However, when it came to the next row I realized the same size of billows couldn’t be placed in a neat interlocking weave pattern. Instead of cutting even smaller fondant squares, I rolled the fondant thinner, which had the same effect: smaller billows that would interlock better.
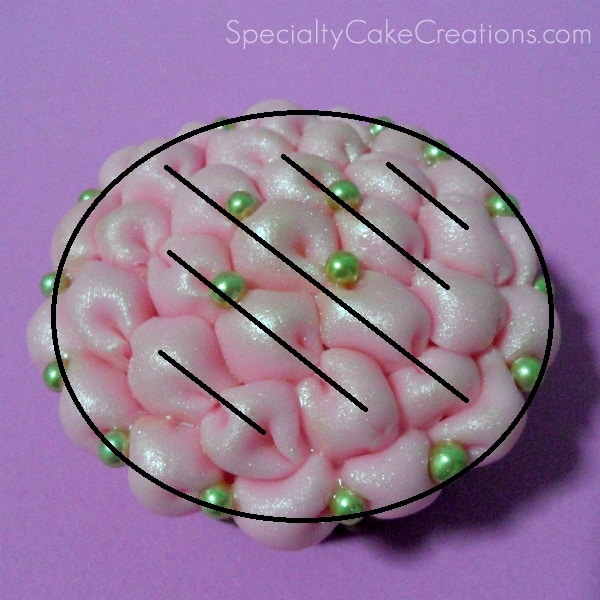
I then finished it off with a bigger billow again the in the center.
But the overall look wasn’t what I had imagined for billowing cupcakes. With the pink cupcakes I started in the center and build rows of billows rather than circles as before.
However, on the edge the rows wouldn’t finish off nicely. Instead of putting in half-billows, I finished off with a circle of billows around the cupcake.
As last step I brushed on some pearl dust and placed gold dragees between the billows on the outside and in the center. Since the billows are so small I thought one between each billow (like you see on cakes) would be overload.
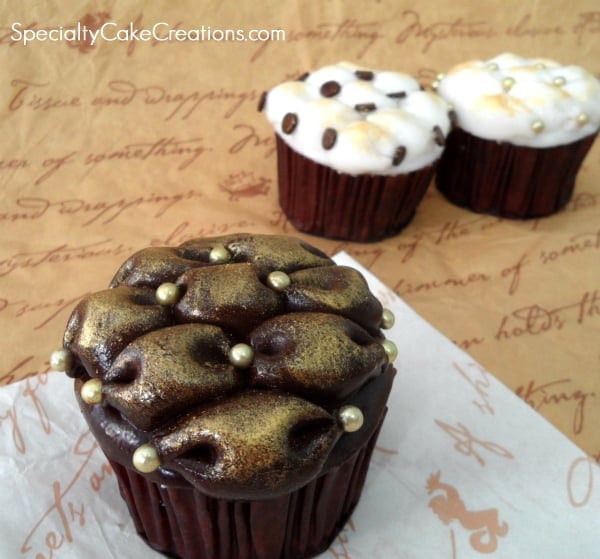
Making lots of little 2×2 cm fondant billows can be very time consuming. So I thought with bigger billows covering a cupcake would be quicker. I went up only one centimeter to 3×3 cm squares, but the billows were right away significantly bigger and only 9 per cupcake were needed.
However, the extreme humidity we are having here right now during monsoon season got to these cupcakes (especially the white ones) before I could take decent pictures. So this will be the only close-up of the larger billows:
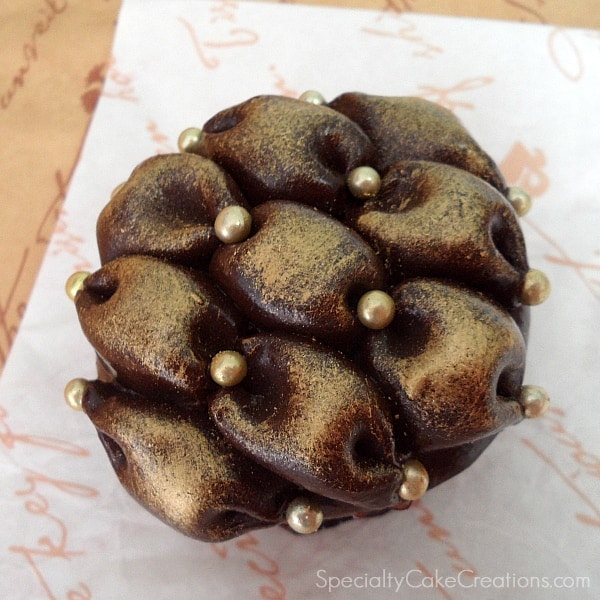
Again, I started at the center and worked my way outwards in rows. One difference though to the pink cupcakes: With the bigger billows I wasn’t able to fit a “circle row” around. So this time I left the “pointy ends” on the outside billows. Some of the underlying fondant base still shines through, but I think since it is the same color it is acceptable.
Also, I brushed them with gold dust and placed gold dragees in between the billows and on the outside ends. Instead of dragees little fondant dots in the same or a contrasting color can be used as well.
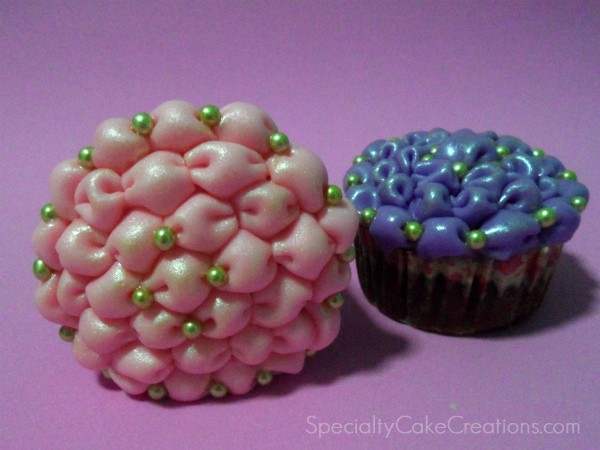
In the end, I think I prefer the look of the pink cupcakes with the rows + circle arrangement. But if it has to be quicker the bigger billows work for me as well.
Which way do you prefer? Maybe you have yet another idea how the tufted billow weave technique can be applied on cupcakes? I would love to here from you.
