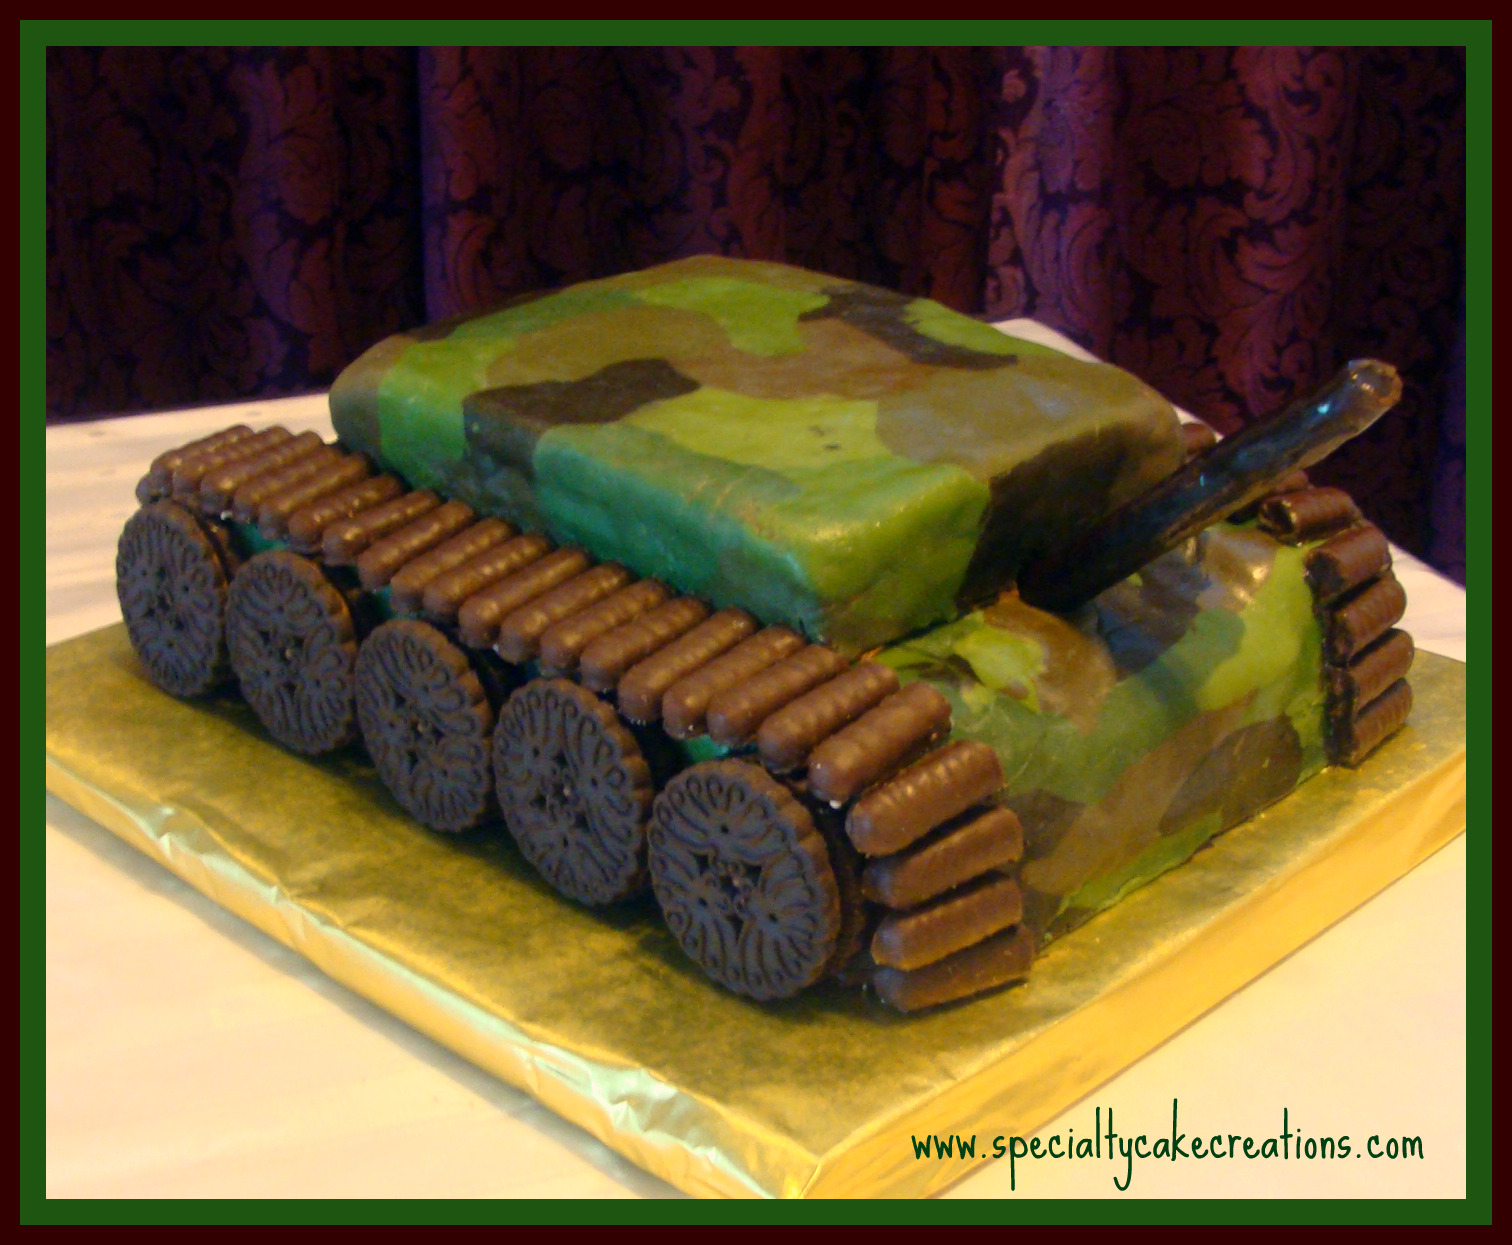
This Specialty Army Tank Cake was created for a 10th birthday. It is vanilla white cake with chocolate buttercream. The cake is covered in camouflage coloured fondant. Chocolate cookies and cookie sticks were used for the detail work.
On frequent request I put together a few instructions. I know, it’s not a recipe, but this lets you print them out easily.
Ingredients
- 9x13x2 cake layer
- 8x8x1 cake layer (trimmed to 8x6 or 8x5)
- 4.5 cups buttercream frosting (6 if also filling the layer)
- 40 oz. fondant
- icing colors - leaf green, forest green, brown, black
- cream-filled cookies, chocolate covered cookie sticks, long cookies stick
Directions
- Bake cake layers, trim smaller layer to fit on larger layer. Ice (and fill) cake layers.
- For these sizes about 40 oz. of fondant are needed. Start by coloring it in a shade of green (eg. leaf green with a little brown). Divide into as many parts as different shades you want for the camo. I think I have 5 shades there.
- a. Leave one part as is and knead other colors into the rest. b. Add more leaf green or forest green for a darker shade of green. c. Add more brown. d. Add more brown and green. e. Add black.
- Start with covering the bottom cake. Pull off about 1/5 of each color to preserve for the top layer. Prepare your fondant rolling surface with a little dusting or use a rolling mat.
- Take little pieces of the different shades of fondant and roll them into balls or sausages and flatten a bit with your hand. Place them onto the rolling surface closely to each other, curved and intertwining.
- Since you need quite a big fondant layer, start on one end and work yourself to the other. Cover the end you are not working on with plastic wrap, so it doesn't dry out too much. Once you have all pieces aligned, start rolling out. Roll in all directions to blend and create the camo pattern. If the pattern seems too neat and straight you can even lift one end and create a fold to break it up. Then just roll over the fold. From the rolling pressure all the little pieces will join together into one big piece of camo fondant.
- Carefully lift it off your surface or mat and place over the cake. Smooth and trim off excess as usual. Repeat with the smaller cake layer. I find it easier to cover it first before placing it on the bigger cake layer.
- Decorate with Oreo cookies, chocolate covered cookie sticks cut in half, and one long chocolate cookie stick as barrel. I used royal icing to make the cookies stick, but buttercream will probably work too.
Stephanie graciously allowed me to use some of her pictures for a better visualization. She uses the camo fondant for cupcake toppers, but for a cake it is the same principle just bigger.
.jpg)
Put pieces of differently coloured fondant together (you can flatten them slightly with your palms first).
.jpg)
Start rolling out.
.jpg)
Push, pinch or fold for a different pattern.
.jpg)
Voila…camo fondant!


My sons birthday is july 3 and he will be ten, we have been looking for a camouflage cake for him can you tell me how i can get this cake he would love it.
I am in love! How did you do the camouflage fondant?! I’m preparing to make my brother-in-law a camouflage covered cake in November and I’m dying to figure out a way to do this! All of the other sites online keep saying that it’s reall hard, but this looks awesome and I just have to know how you did it!!!
Thank you Nikki,
I have to say if you are not too particular about the flow of the different colours it is not very hard.
First, I coloured some fondant in different shades of green and brown.
To cover the cake take pieces of the different fondant shades, roll to a smooth ball, and flatten a little by hand. Pull the pieces in different directions.
On a surface prepared with corn starch, put the flattened pieces next to each other. Pull and push were necessary to fill gaps.
Now, roll a big rolling pin over the fondant pieces. The pressure will make all the different pieces come together as one. However, you might not have very much control how the colours are flowing.
But I think that makes the camouflage make really natural.
I hope this will help you for now. Maybe, sometime soon I will make a picture-documented tutorial.
This is a great idea for boys and girls that love the military stuff. My son is turning 10 and he always request for a themed cake. He want me to make Legend of Zelda cake but i want to surprise him with this cake theme. He loves playing his army men which i can use as props for the cake 🙂
I might just tweak on the frosting, fondants are too sweet. Is it possible to color separately a creamcheese and whipped cream icing? It might be messy but i will try my best to make it neat.
Thank you for sharing your ideas and cake recipe.