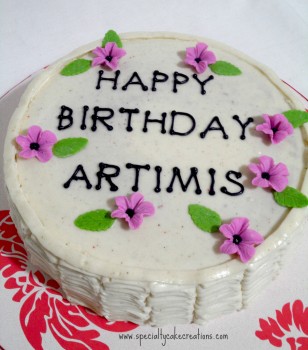
Ruffle cakes seems to be appearing everywhere these days. So I thought it was time to try it myself and I wanted to share with you here. Red Velvet cakes seem to be hard to get by here. But this was all the customer wanted, red velvet cake for a small birthday party with the girls. As there was no special design request at all, this called for an opportunity to make a buttercream ruffle design.
Here is how I made it:
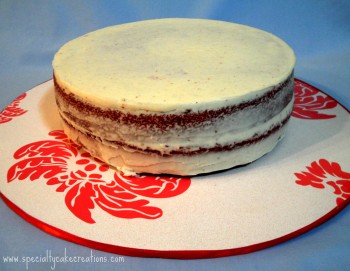 I filled and crumb coated the red velvet cake layers with white chocolate buttercream. Since I decided to have a smooth top for the writing I put a thicker layer on there and smoothed and hot knifed. The sides can be rough looking as they will be covered with ruffles anyway.
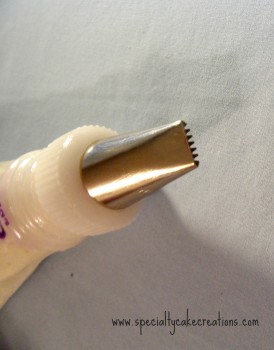
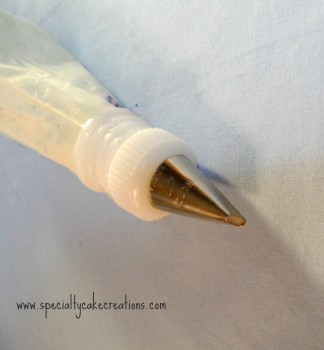 Where I have seen, mostly a petal tip from #101-104 was used. Any size works. Since the smallest size I have is 104, but I didn’t want too thick of an icing layer, I used basket weave tip #47. Since only one side is combed and the other is smooth it also worked perfectly.
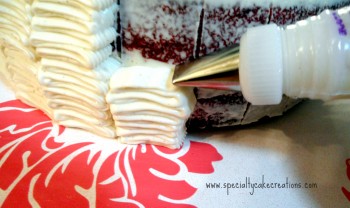 Piping the ruffles is as simple as it gets. Start on the bottom. Hold the bag with tip vertically on the side of the cake. For basket weave tip hold combed side downwards; for petal tips hold the thicker part towards the cake. Apply even pressure and pipe back-and-forth in your desired width while slowly moving upwards on side. I didn’t trust that I would keep the ruffles in even width, so I used a ruler to make markings.
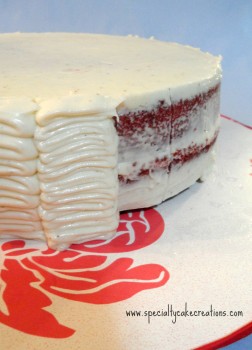 Proceed in the same way all around the cake almost touching the previous row of ruffles. Make sure to end with the smooth side up if using a basket weave tip.
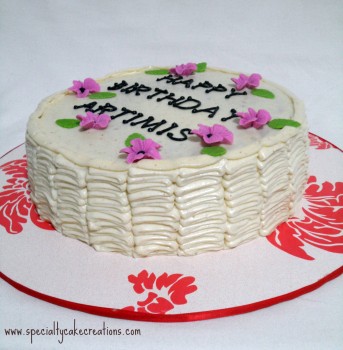 Once all ruffles were done I piped one continuous band of buttercream on top of all ruffles to finish them off. If there isn’t going to be any writing or decoration on top you can also continue the ruffles over the edge to the center. Decrease the width the closer you get to the center. This is an easy way to achieve an elegant look on your cakes. Best of all, it is a lot quicker than trying to get those perfectly smooth sides.
To finish off my cake I piped a birthday message on top. I get nervous when it comes to letter piping so I always use this letter press first to make indentations into the buttercream and then fill the indentations in with a small round tip # 2.

Pingback: Specialty Cake Creations | Strawberry Ruffle Cake {for Mother’s Day}