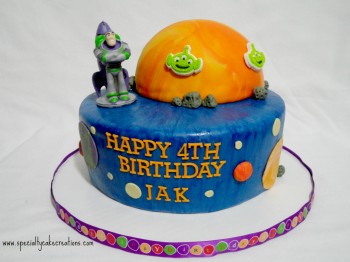
I was very excited to create this cake for Jak’s 4th birthday. It is the second cake I was making for him after last year’s Diego & Baby Jaguar cake and already the fifth cake for this family.
Jak is also the one made the awesome connection between his brother’s Lightning McQueen cake and the “race car” I was delivering it in 😀
So no question, this cake was extra special to me.
Regina, you have done it again!! you always make our kid’s birthdays memorable!!! the cake is always the highlight! don’t know what we would do without you! thank you SO much!
If you are interested, here is how I made the cake:
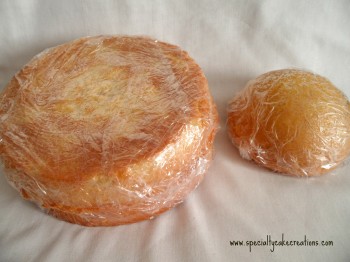
I started out with two layers of vanilla bean white cake and one half-ball cake (baked in the Wilton Sports Ball Pan) that I torted and filled with raspberry fruit filling.
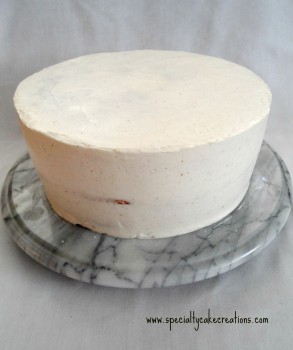
Next I iced the round cake with white chocolate buttercream, let it set up in the fridge for a few minutes and then smooth out the surface with a hot spatula.
I wanted the round cake to be dark blue for the universe. In the past I often had issues coloring fondant a solid dark color. It will usually take so much food coloring that it starts breaking down the fondant, making it tear easily when trying to cover the cake.
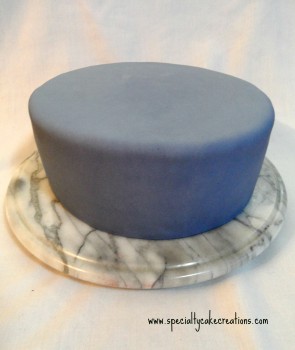
So this time I thought to try something new with painting the fondant covered cake. I started out with fondant pre-tinted in a similar shade I was going for. Next time though, I think it will work just as well with a white fondant base.
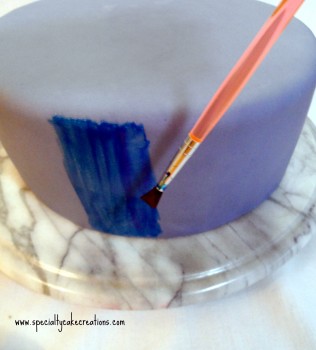
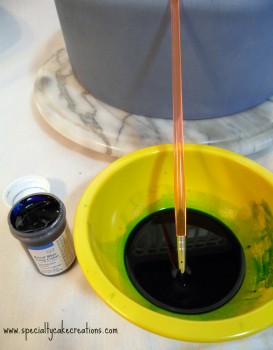
In a small bowl I simply mixed a little bit of royal blue food coloring with a couple table spoons of water and started painting the mixture onto the cake to cover the fondant but not soaking it.
I used the biggest food brush I had but for the next time I will get a bigger chip brush (use for food exclusively) to achieve a coverage with fewer streaks.
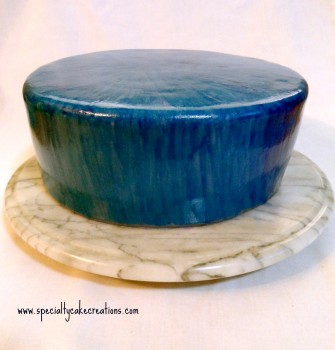
The painted cake has to remain uncovered in order for the fondant and coloring to dry quickly. For me it took only 15 minutes and the paint would not come off anymore when touched. But we live in a very dry climate. It might take longer, if it is more humid where you live.
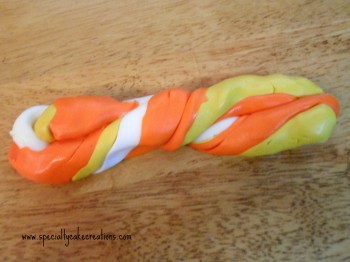
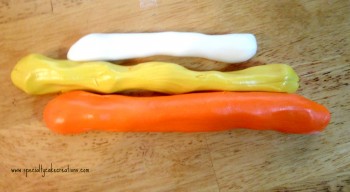
For the planet on top of the round cake I torted and iced the half-ball cake the same way. To get the patterned effect into the fondant covering I used orange, yellow, and white. Rolled into thick sausages, twisted together, folded over, twisted again. There is almost no wrong way to do this, just don’t overmix the colors otherwise it becomes a one colored blend.
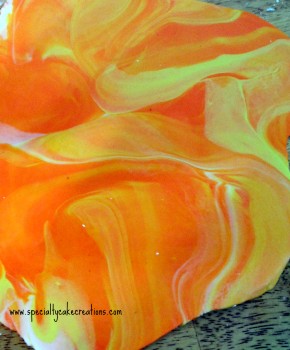
When rolling out the twisted fondant colors this wonderful marbling effect occurs.
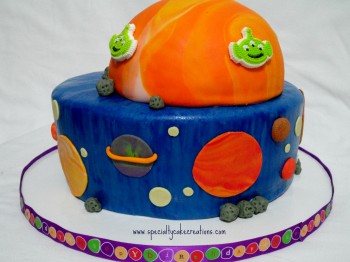
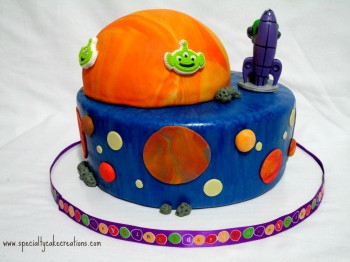
I covered the half-ball with the marbled fondant and stacked it onto the painted blue round cake using a few bubble tea straws as supports and royal icing as glue.
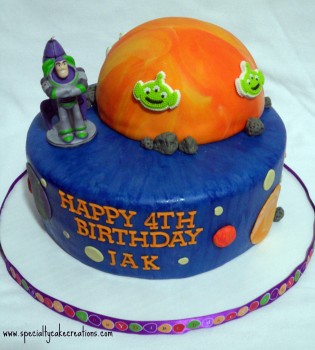
To finish off the design I cut out fondant circles (some marbled as well) for planets and stars to decorate the sides all around the cake and gray meteor rocks.
Buzz Lightyear is a purchased candle. Also purchased are the three-eyed alien icing heads on the planet.
I hope you enjoyed this picture documentation of the making of the Buzz Lightyear cake.
As always I am looking forward to your comments, questions, and feedback.

What a fantastic cake! It is really fun and I am sure Jak loved it! The effect you got with the paintbrush is really clever and something we will definitely use in future!
love Ella and Rachel, Blueberry Hill Cakes x
How incredibly talented you are! You captured Toy Story just perfectly. Jak’s a lucky boy!
I really love it, and your colouring technique!
Laura
Thank you very much, Laura 🙂